The word "upcycling" gets used loosely, but painting old furniture is one of the clearest expressions of the idea: you take something of declining perceived value and, through skill and care, increase both its beauty and its usefulness. You also keep it out of landfill, which matters enormously given how much solid wood furniture is discarded every year.
This guide covers wooden furniture specifically — chests of drawers, chairs, tables, cabinets, and shelving units. The same principles apply to wicker and bamboo pieces with some adjustment.
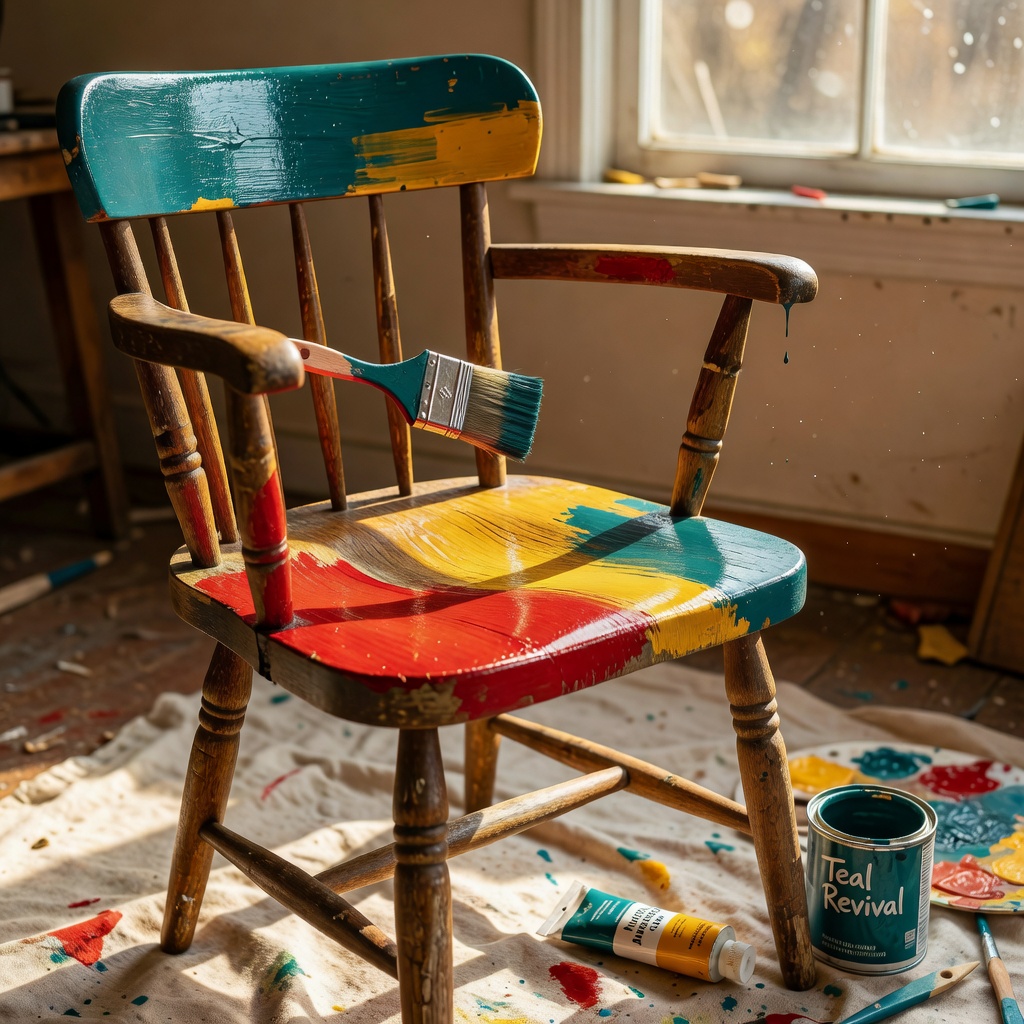
Choosing the Right Paint
Chalk Finish Paint
This is the most forgiving option for beginners. It adheres to most surfaces without primer, it has a beautiful matte finish that can be distressed or left as-is, and it cleans up with water. Brands like Annie Sloan and Rust-Oleum make excellent versions. Seal with wax or a water-based varnish when dry.
Mineral Paint
A newer category, mineral paints are self-sealing (no wax or varnish needed), extremely durable, and available in many sophisticated colours. They are slightly harder to work with than chalk paint but produce a finish that stands up better to daily wear on dining tables and kitchen cabinets.
Traditional Oil-Based Enamel
The most durable option, but also the most demanding. It requires proper primer, adequate ventilation (strong fumes), and longer drying times between coats. The result, however, is a glass-hard finish that will last for many years on high-use pieces.
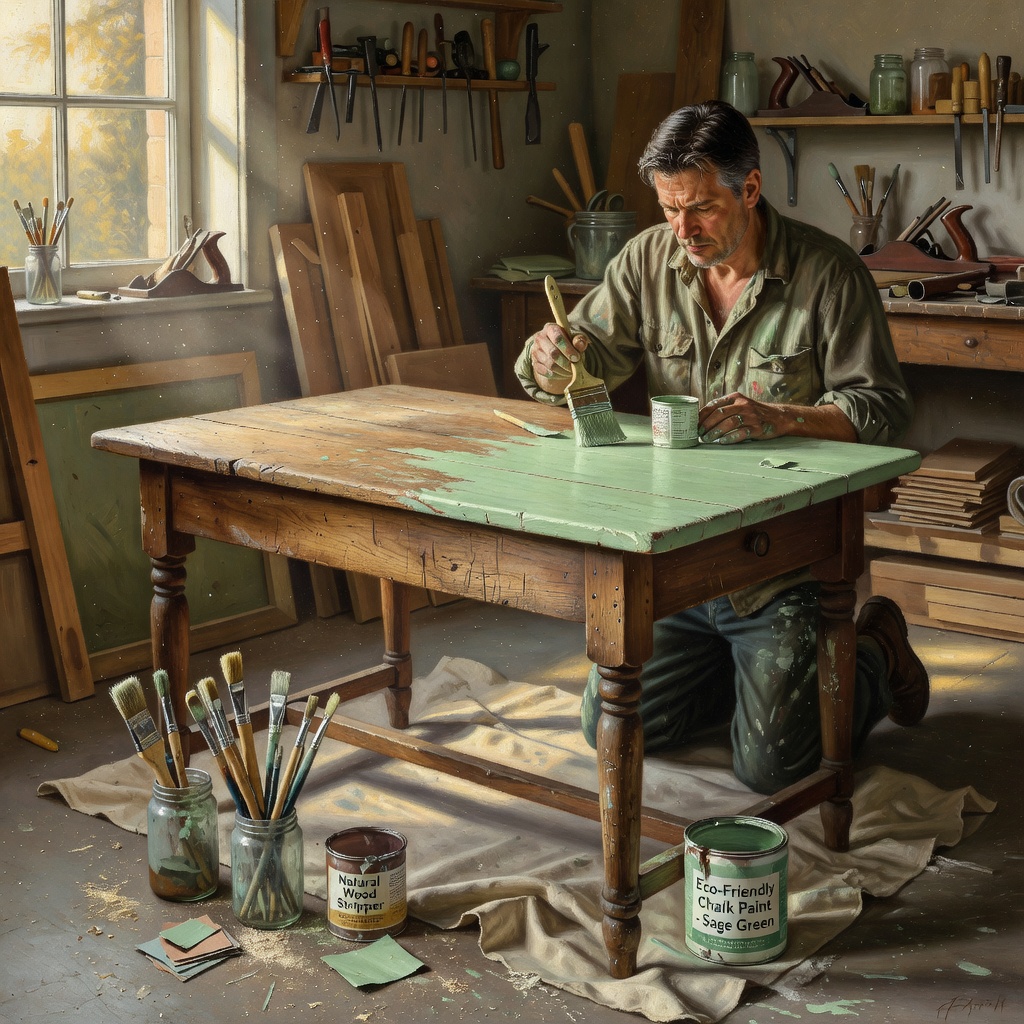
Step-by-Step: Painting a Chest of Drawers
Clean the Piece Thoroughly
Remove all the drawers, hardware (handles, knobs, hinges), and any loose parts. Wipe the entire piece down with a sugar soap solution or a TSP substitute — these cut through grease, wax, and grime that will prevent your paint from adhering. Rinse with a clean damp cloth and allow to dry completely overnight.
Sand and Repair
Give the entire surface a light sand with 120-grit sandpaper, following the grain of the wood. This scuffs the surface just enough for paint to grip. Fill any holes, dents, or deep scratches with wood filler, allow to dry, then sand flush. Wipe away all dust with a tack cloth or slightly damp rag before painting.
Prime (If Needed)
For chalk paint on clean, bare, or previously painted wood, you can often skip primer. But if the piece is very dark, stained, or has areas of bare glossy lacquer, apply a shellac-based primer (Zinsser BIN is excellent) to seal problem areas before your colour coat. This prevents old stains bleeding through.
Apply the First Coat
Stir the paint thoroughly. Apply with a good-quality brush or foam roller, working in the direction of the grain. Don't worry if the first coat looks thin or uneven — it always does. Brush out any drips immediately. Allow to dry completely (1–2 hours for chalk paint, longer for enamel) before touching.
Lightly Sand and Apply the Second Coat
Once the first coat is fully dry, lightly sand with 220-grit sandpaper. This removes any dust nibs and brush marks, and gives the second coat something to grip. Wipe away dust, then apply your second coat. Most chalk and mineral paints are fully covered in two coats. Enamel may require three.
Seal the Finish
For chalk paint, apply a clear wax using a round wax brush or a lint-free cloth, working it into the surface in circular motions, then buff off the excess with a clean cloth. This protects the paint and gives a soft sheen. For mineral paint, no sealer is needed. For enamel, the paint itself is the seal.
Reattach Hardware and Reassemble
While the paint cures (leave chalk paint 24 hours before heavy use), consider whether the original hardware suits the new colour. Old brass handles can be polished or replaced with ceramic knobs. Simple cup pulls in black iron work beautifully with sage green and white pieces. Refit the drawers, stand back, and admire.
Distressing for a Lived-In Look
If you want a piece to look deliberately aged — perfect for rustic interiors — lightly sand through the top coat at natural wear points after the second coat: corners, drawer fronts, the edges of table tops. Use 80-grit paper here, just enough to wear through to the wood or an underlying paint colour. A piece painted first in a warm cream, then in sage green, reveals that cream when distressed, which feels both intentional and beautiful.
Caring for Painted Furniture
Chalk-painted and waxed pieces can be maintained by occasionally re-waxing, perhaps once a year for heavily used surfaces. Clean with a damp cloth and a small amount of dish soap if needed — do not scrub. If the paint chips in future, you can touch up with the same paint. Unlike factory finishes, which cannot be repaired invisibly, hand-painted furniture ages gracefully and is always fixable.